Pruning the Landscape
WHY: 1.) To control size and maintain a pleasing shape. 2.) To eliminate crossed-over branches, which often lead to disease. 3.) To cut out dead or dying wood, another source of disease. 4.) To remove dangling, storm-damaged branches - a potential hazard. 5.) Special pruning projects - Hedges, topiaries, espaliers and bonsai.
Where: Sharp, diagonal cuts, above lateral branches/dormant buds, whether this is an opposite or alternate-budded specimen. Large branches, just beyond branch collar, never into the wood of the trunk.
When: Flowering shrubs and trees, immediately after petal fall. Yews, arborvitaes, junipers - shear in late July, after new growth hardens-off. Heavier, renewal pruning in early spring, before new growth flush... not more than 1/3 each year. Cutting back long, whiskery growth missed last year, can be done in spring, as well. Pines - cut candles back by 1/3-1/2, before needles unfurl in spring. By the way, while arborvitae is often employed as a formal, sheared hedge, juniper is best left to hand pruners for a natural look. Upright Taxus (Yew) can be equally attractive as formal hedge or single specimen in the informal landscape, so your choice of pruning implements may be hedge shears or secateurs.
Winter pruning advantages/suitable specimens - Pruning wounds heal quickly, without excessive sapping or disease entry. Easier to determine where pruning cuts should be made. Pine, spruce, shade trees, fruit trees and flowering trees (larger branches, not tips, where flower buds are already set) are all suitable candidates for winter pruning.
Be careful out there! We often experience late snows and high moisture, so your footing must be considered before tackling this project. Lingering patches of snow and thawing, softening soils can make winter pruning a treacherous proposition. It’s always wise to enlist the assistance of another gardener, especially if ladders or pole pruners are involved. Remember, if in doubt about the scale of your pruning project, don’t take chances. Enlist the services of a Massachusetts Certified Arborist.
Fruit trees - Open up the interior for sunlight penetration and better air circulation. In addition to winter pruning, thinning of fruit around June may be necessary. Visualize the size of each mature fruit and allow enough space to avoid direct contact between each. Water sprouts (growing straight up from lateral branches) and suckers (arising from the root zone) may be removed at any point during the year, as needed. Prune back dead tips into live wood at any time - important on young trees to prevent dieback.
New Wood/Old Wood - Become familiar with your flowering trees and shrubs! Prune at the wrong time and you remove next season’s flower buds, if your plant blooms on old wood. If it blooms on new wood, you can prune in early spring, taking advantage of the spring growth flush. Old Wood: azaleas, rhododendrons, lilacs, old fashioned garden roses, ‘Nikko Blue’ hydrangeas, etc… these set the following season’s flower buds about 4-8 weeks after flowers fade (set during the previous season/bloom the following season). New Wood: Rose of Sharon, ‘Anthony Waterer’ spirea, panicle & arborescens hydrangeas… flower buds develop on the fresh, new, vegetative growth of spring (set & bloom during the current season). New and Old Wood? The new everblooming hydrangeas (‘Endless Summer’, ‘Twist ’n Shout’, ‘Blue Heaven’, ‘Summer Lace’, etc.) set flower buds late summer/early fall on old wood. They also set buds on the new growth of spring. Prune accordingly!
Roses - Except certain old garden varieties and climbers, cut back late March to mid-April. Trim down below any diseased or winter-killed wood, 45º angled cuts, just above dormant buds. Combine the first spring pruning with the first feeding of the season for fuller, more robust growth. Teas and grandifloras receive the most vigorous spring pruning, leaving 3-5 of the most vigorous canes to form the current season’s framework. Floribundas usually require the lightest pruning of all our garden roses. Eliminating any dead tips, winter-killed canes and thinning a bit to open up the center for better regrowth and healthier air circulation will usually suffice. Climbers (heaviest blossoming occurs on over-wintered canes) and old varieties are cut back, as needed, immediately after blooms fade. Modern climbers will bloom sporadically throughout the season, while heirloom varieties will form buds for the the following season. Deadhead tea, floribunda, grandiflora and David Austin English roses, as blossoms fade, cutting back above five or seven leaflets. Even hardy landscape roses benefit from this treatment. On all roses, stop pruning in early September, allowing canes to properly harden-off before winter (tie & Wilt Pruf canes).
The confusing specimens - Wisteria, hydrangea, clematis, viburnum, blueberry, raspberry, caryopteris, buddleia... these are among the most puzzling landscape specimens, where pruning iconcerned.
Three Steps to Japanese Wisteria Blooms! Has your patience worn thin? Gorgeous, pendant racemes dripping from arbors, pergolas and archways… this was the vision when you planted that Wisteria floribunda vine. The reality? A tangled mass of vegetation that boasts few, if any, blossoms. Folks often wait 7-10 years for blossoms, often to no avail. Your stubborn wisteria needs a firm hand, twice yearly. Follow these three steps to success…..
March ~ Without a heavy load of foliage, we can more easily see what needs to pruned. There are three tiers of growth. The oldest, main stems make up the first tier, secondary stems (which often twist around the oldest, first tier growth) and the youngest, or third tier of growth. The first tier dictates the speed and direction of growth, with your guidance. As much as one-half of the second tier growth may need to be cut back, low and close to the first tier. This eliminates an excess of foliage, allowing light penetration and air circulation. The youngest, third growth tier, is now cut back to about eight inches, leaving 3-4 buds on each branch.
April ~ Feed your wisteria a complete fertilizer like Plant-tone®, with a supplement of rock phosphate. Ideal soil pH is 6.0-7.0. If indicated by a soil test, raise the pH with garden lime or wood ash.
August ~ The August pruning alleviates an excess of vegetative growth, while addressing the third tier, or youngest, growth. Leave about 5-6 leaves on each of these young shoots, which begins the process of forming flower spurs. Your subsequent pruning the following March will further encourage flowering spur formation.
Note about bud I.D. ~ Leaf buds are quite flat and lay close to the stems. Flower buds are more rounded, not held as closely.
Hesitant about Hydrangeas? Those that flower on old wood, like Hydrangea macrophylla (the old ‘Nikko Blue’ you may still be cultivating or ‘Lady in Red’, etc.) and H. serrata ‘Bluebird’ are among those that you must not prune in spring. In fact, deadheading and any pruning must be done immediately after blooming. Bright sun will encourage a heavier bud set and you should provide winter protection so buds are not lost over winter.
Although the newest members of the species, H. macrophylla (‘Endless Summer’, ‘Twist’N Shout’, ‘Peppermint’, Summer Lace’, etc.) flower on both old and new wood, and they are generally more bud hardy, follow the above advice when it comes to pruning and removing spent blooms. In this way, you’ll have a good production and survival rate of over-wintering buds, bolstered by the buds set in spring on new wood, for the best possible display.
The Hydrangea paniculata species (‘Grandiflora’, ‘Tardiva’, ‘Bombshell’, ‘Limelight’, etc.) bloom on new wood from late summer, into fall and their big, showy panicles of white flowers turn to pink, raspberry and bronze as the weather cools. Pruning? Probably wise to lessen the load over winter by snipping off spent blooms in late fall. Pruning to improve shape and maintain size can be done late fall/early winter, but I prefer March/early April, to avoid the effects of winter’s drying winds. As always, sharp diagonally angled cuts, just above dormant buds will result in fresh new growth and spring bud set.
Clematis ~ Spring bloomers have formed buds during the previous season, so these are best pruned right after flowering. Summer bloomers do not set bud until late spring, so any pruning can be done in late fall or very early spring. Fall bloomers, like C. paniculata, are pruned in late fall or anytime in spring, since bud set occurs during summer; however, I favor early/mid spring for encouraging the most vigorous growth.
Blueberry Pruning Demystified ~ Pruning is an annual event, continuing from planting day and throughout the life of your blueberry bushes. Late winter/early spring, as buds start to swell, is the best time to prune your plants. Most of the flower buds are borne at branch tips, having been formed during the previous summer or fall, which highlights the importance of stimulating new growth through a sound fertilization and pruning program. It also highlights the importance of not pruning too many branch tips, as each flower bud contains multiple flowers, which may yield up to 12 berries per cluster.
Let’s assume you start with a two-year plant. At planting time, remove all flower buds, which diverts energy into rooting-in and forming a sound framework. Remove broken, diseased and weak wood.
After one year: Again, prune away broken, diseased and weak wood and allow only 20-30 flower buds to remain… this continues to encourage a vigorous plant with a well developed root system.
Years 2-5: Continue the above pruning procedures, striking a balance between allowing a heavier yield, and a continuance of developing that healthy framework… erring on the side of plant health, rather than crop size.
Years 6-8 ~ Those 2-year-old plants you started with, have reached maturity. Repeat the above pruning recommendations, removing the oldest wood annually, since canes that reach 5 years-old are no longer productive. Twiggy clusters and crossed-over branches are also removed at this time.
Left unpruned, blueberries become a tangled, unproductive mass. A harsh, but effective, solution for neglected, non-productive bushes, is to cut all the stems within 2-3” of the ground… no fruit that season, but the plant will begin a strong renewal process and will start to bear the following year.
Fertilizer ~ For mature bushes (6-8 years in the garden) apply about 1½ cups of Espoma Holly-tone® (helps to maintain soil acidity, as well) and about 1 cup of rock phosphate per plant, just as blossoms start to open. In about 6 weeks, apply about ½ - ¾ cup of Holly-tone. Rake it into the soil and water well afterward. If a pH test indicates that soil should be further acidified, use garden sulfur not aluminum sulfate. The latter gives berries an unpleasant, acrid flavor.
Pruning floricane, or summer bearing, raspberries: Each cane of summer bearing raspberries is biennial. The first season is spent developing, the cane is left standing to overwinter and will bear a crop the following summer. Cut the cane to the ground, immediately after harvest, since this cane will never again bear fruit and it begins to die back right after harvest. Standing, dying canes are the source of many problems, so prune these out as soon as possible. If such canes are left standing, energy that should be expended to encourage new canes is being diverted to support what are essentially dying canes. If you forget to cut these non-producers to the ground after harvest, then cut them down by the following spring (at the latest) - look for the remnants of old receptacles, which look like little dangling caps, and cut these canes to the ground. Reminder: burn or dispose of all prunings!
Pruning primocane, or everbearing, raspberries: Each cane of everbearers is biennial and remains productive for two seasons . On first-year canes (primocanes), fruit is borne on the cane tips in the fall. On second-year canes (floricanes) fruit is borne, both the spring & fall crop, further down along the canes. After two seasons, these canes are cut to the ground, allowing newer canes to produce future crops. Old canes, entering their third year, will be non-productive and are identified by cracked and peeling bark. Cut these to the ground. If you wish everbearers to produce only one larger fall crop, cut canes down in early spring - in fact, growers will often mow all ever bearer canes to within 2-3 inches of the ground, which provides a single, but more substantial harvest at the tips of primocanes. A note, if you do intend to harvest spring & fall crops from everbearers... As regrowth occurs, remove suckers and thin the largest canes, leaving about six inches between each. Manage the one and two-year canes as wished, based on thee above facts
Baffled by Butterfly Bushes (Buddleia)? Or, Caryopteris?
Often, to avoid winter breakage and possible damage to main stems, we employ a two-step pruning system. Those 6-8’ shrubs can be cut back by about half, come late fall/early winter. This eliminates the drag that ice and snow put on branch tips, causing considerable damage. In late March/early April, re-trimming to 1 1⁄2 - 3 feet will eliminate winter-dried tips and lead to fresh green growth for another summer of graceful blooms. Feed with Plant-tone and rock phosphate.
Although much smaller in stature, Blue Mist Spirea (Caryopeteris) may pruned in the same manner as Buddleia. Cut your 3-4’ plant back by half in late fall, which prevents much winter damage. Late March/early April, trim back to 1-2’ in height or, simply trim any dried branch tips back to the next viable bud.
Feed with Plant-tone and rock phosphate.
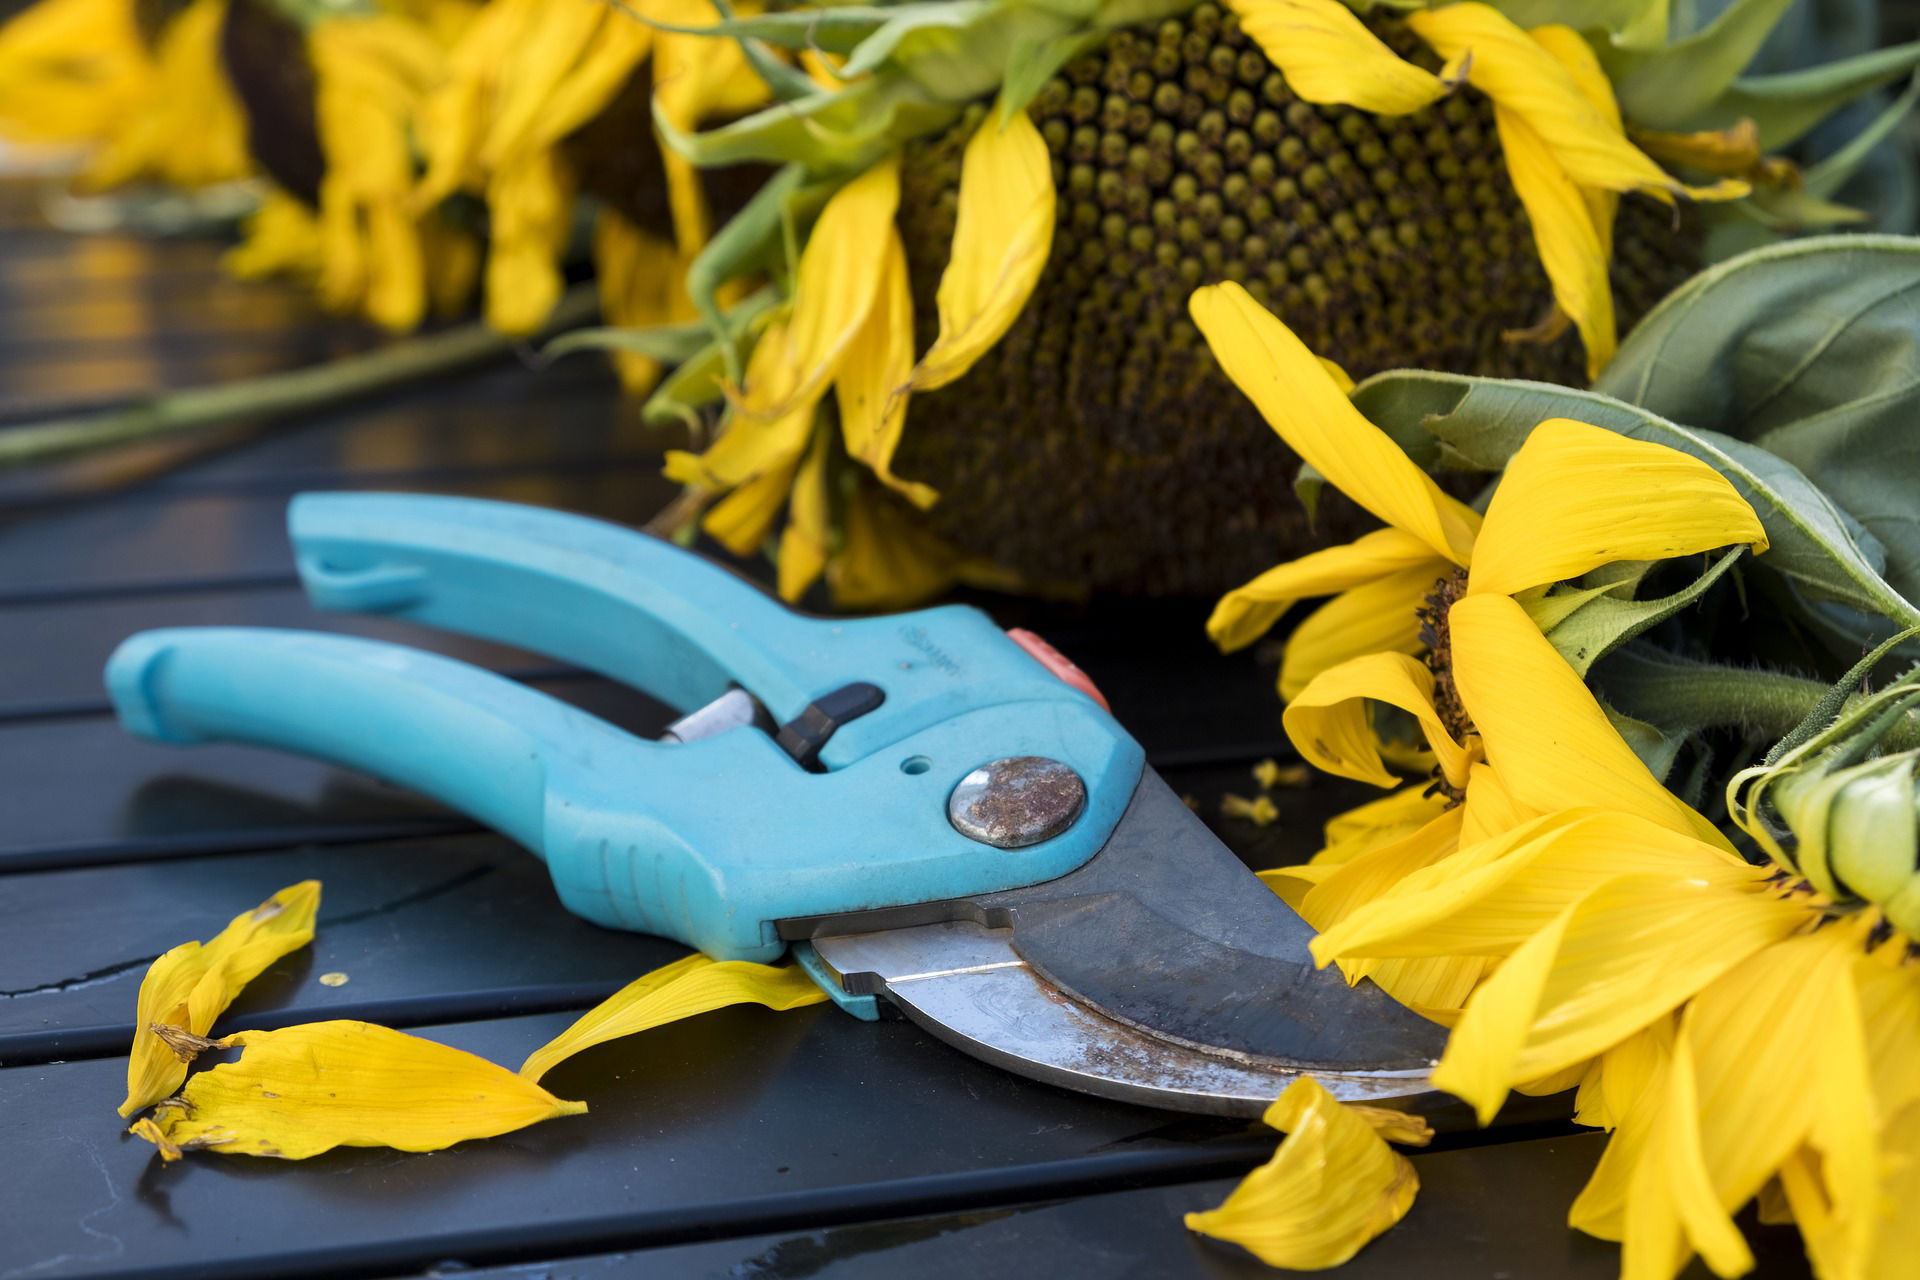
Tools: Hedge shears, bypass and anvil pruners, ratchet-cut pruners, bypass and anvil loppers, pruning saws, pole pruners (with lopper & saw)... always use the proper tool for the job ~ never force pruners or loppers to take “too big a bite!”
Maintain those tools: Keep rust-free (with a little steel wool), clean (use mineral spirits/paint thinner to remove accumulated sap), well-oiled at all times (household 3-in-1 oil/WD 40, etc.) and keep blades sharpened (touch up edges as needed with a small gardener’s stone). Use your pocket sharpening stone to maintain a perfect cutting edge on all your pruners, loppers and hedge shears… this is so easy and requires less than five minutes! Stop taking them to be sharpened by a “professional,” who grinds them down!
Cleanliness: Sterilize cutting tools between cuts, if known issues like stem canker or black knot exist. Use a 10% bleach solution or rubbing alcohol to clean blades. Remember to oil pruners, immediately afterward, as these substances will dry moving parts. Occasionally, such steps as sterilizing the pruning wound, treating the wound with fungicide and the use of Phytech 50® wound dressing are indicated. New and existing trunk wounds should be smooth and elliptically-shaped, preventing moisture accumulation and subsequent rot. Never compost diseased wood or trimmings, to prevent reinfection.
Saving split branches: For recent damage - we are looking to join the cambium layers of both sides together as firmly as possible.
After bracing the weakened area and bringing the split together, make sure any rough wound edges are smoothed. Drill through both portions and insert a stainless steel carriage bolt & washer (bolt should be only slightly longer than the total diameter of branch). Attach another washer and nut, to secure the whole. To keep water from compromising the healing process, seal the top and edges with a wound paste. We recommend Phytech 50, a blend of bees wax and lanolin. This will also keep insects and disease at bay while healing continues. After about a year, the wound paste sloughs off, leaving a strong union, well-healed. Eventually, the bolt will disappear, as your tree continues to grow. Such a well-mended split will actually become one of the strongest points on your tree.
Factoids: Pruning and feeding, during the growing season, are synergistic! Follow the 1/3 rule, over the course of three seasons for most renewals. Rhododendron, kalmia, pieris, privet and a few other specimens will respond well to extreme renewal pruning, come spring. (“Tough love!”)
My Final Note: Pruning is the phase of gardening that generates the most questions and engenders the most trepidation in the hearts of new gardeners. As with any other horticultural endeavor, it’s all about knowing how plants work! Becoming knowledgeable about growth and flowering cycles, demystifies when and where to make those pruning cuts. Using (and maintaining) the proper tool for the job, remaining alert for disease and insect issues, as well as preventing and mending winter damage, are all essential knowledge… the most important tools in your pruning belt. Become familiar with proven techniques & timing… including when to pick up the pruners and step away from the hedge shears!!!
Now, go ye forth and prune with impunity (and confidence)!
Just remember, the Corliss staff is always available, by phone or in person, to help solve those knotty pruning issues!
“Corliss Culture Sheets “ written by Deb Lambert for Corliss Bros. Garden Center & Nursery 31 Essex Road (Rte.133) Ipswich, MA